To start with, if your device is still under warranty and you are able to return it for repair, or you can purchase a new spare part that matches the defective component, we recommend doing so. If that’s not an option, because there isn’t enough time and you need to use the device urgently, or you are currently unable to leave your home, please keep on reading.
Disclaimer
Modifying a product that is still under warranty will void the warranty. Some of the tips in this article are intended for an emergency only and, if not done carefully and properly, could potentially damage the product. Therefore, whenever possible, we recommend returning the device to us for repair.
Interface Cable(s)

If the device powers up but is no longer recognized by the computer, try it with a different interface cable. If your storage enclosure has more than one interface, test all interfaces. If it’s a Thunderbolt device with two Thunderbolt ports, make sure to test both ports on the device and the computer.
If you don’t have another cable that matches the original, you might be able to use a cable with different speeds. For example, instead of a USB 3.0 cable, you could use an older USB 2.0 cable from something like a printer. Or, if you have a Thunderbolt 3 cable, you could also use it with a USB-C device. These cables might not be as fast as the original ones, but they will at least allow you to access your data.
Keep in mind that not all cables are compatible. Unfortunately, a USB-C cable that is used to charge a mobile device or a USB-C cable from a USB device won’t necessarily work with a Thunderbolt 3 device, even though the plug matches.
DC Power Supply

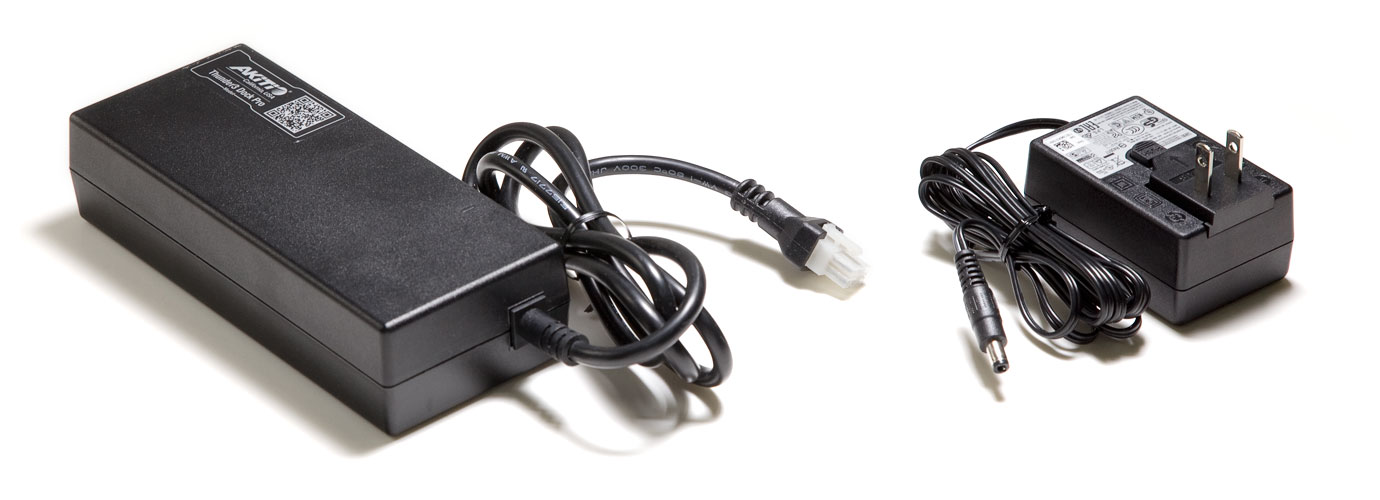
If the LED light on the power supply no longer turns on, or you measured the power output and it’s not what it should be, you can replace the power supply with another one. For certain built-in open-frame power supplies, this might not be an option, but many storage enclosures have an external DC power brick that can be easily replaced.
To rule out any other issues first, plug the power supply into a different outlet and test it with a different power cord. When looking for a suitable replacement, pay attention to the following specifications.
IMPORTANT
The voltage and polarity of the new power supply must be the same. Using a power supply with different voltage or polarity can damage the device.
Voltage (V)
This must be the same as the original PSU. It is most likely either 12V or 5V.
Current (A)
Ideally, this is the same as the original PSU. If that’s not available, choose one with a higher current. For example, if the original was 12V/5A, you could use 12V/6A instead.
Plug Connector
This must be the same as the original PSU. When measuring the size of a barrel connector, make sure to measure both the inside and the outside diameter. If that’s not available, you might have some adapter plugs from a travel adapter that you could use. Otherwise, you would have to cut off the original connector and solder that onto the spare adapter.
Polarity
This must be the same as the original PSU. For barrel connectors, in most cases the polarity will be center positive – but to make sure, check the label of the original PSU or look for a symbol near the power receptacle on the enclosure for more details. It’s the symbol with two circles and a third broken circle in the middle. In the example below, the opening of the broken circle is towards the plus symbol, meaning the polarity is center positive. For mini-DIN connectors, look for the pin assignment instead.
![]()
DC Cooling Fan

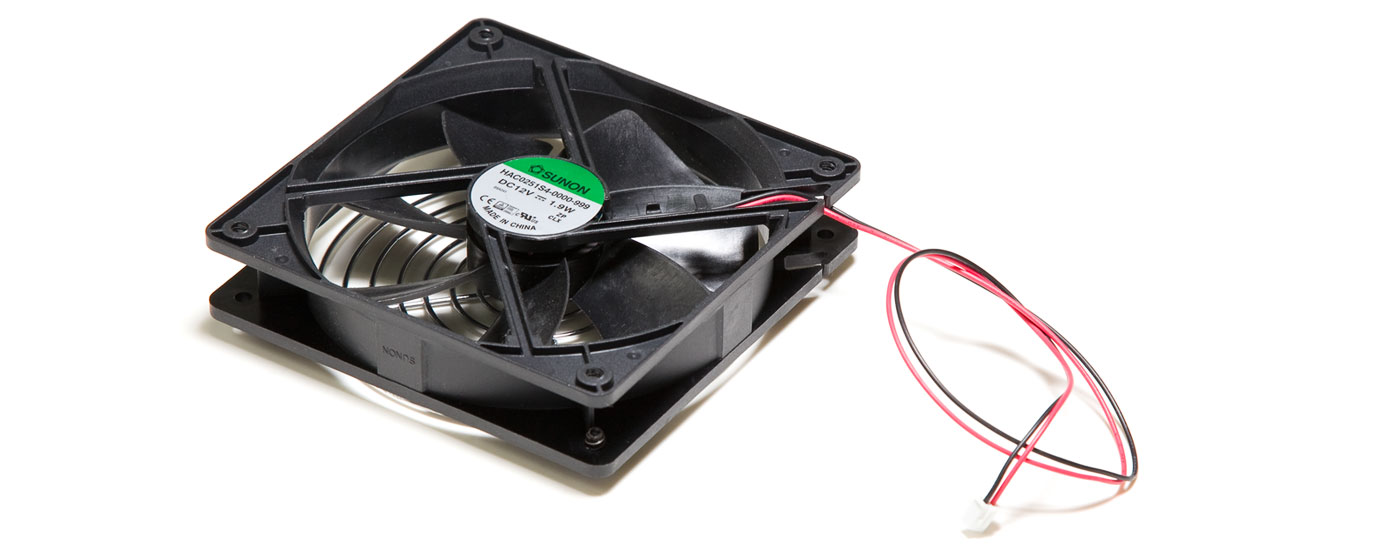
If the built-in fan has stopped working, you can replace it with another fan. If that’s not an option and data access is urgent, you might be able to use the device for a short time (e.g., up to 30 minutes) without the fan. If you are using the device in a hot environment and you find that the components or the drives are getting too hot and causing the device to disconnect, open the enclosure and use something like a pedestal fan to cool down the components.
You can find out the specifications of the original fan either from the label on the fan or by looking up the part number that is printed on the fan online. When looking for a suitable replacement, pay attention to the following specifications.
IMPORTANT
The voltage and pin assignment of the new fan must be the same. Using a fan with a different voltage or pin assignment can damage the device or the fan.
Voltage (V)
This must be the same as the original fan. It is either 12V or 5V.
Current (mA)
Ideally, this is the same as the original fan. If that’s not available, choose one with a lower current.
Connector
This must be the same as the original connector, and the pin assignment must match. Make sure the colors of the wires match the position of the original wires. In most cases, RPM sensing and/or RPM control is not used, so it’s either a 2-pin or 3-pin connector. The important wires are red for power and black for ground.
Size
This should be the same as the original fan. A fan with different dimensions will likely not fit properly into the enclosure, and it cannot be mounted correctly.
Circuit Board

If you heard a pop, saw smoke, smelled something burning, or if you have done a visual inspection of the circuit board and found some black and burned-out components, remove the power supply and stop using your device. Please return it for repair. The only fix-at-home solution for this kind of scenario would be if you happen to have another storage enclosure of the same model that you could use for spare parts. However, in that case, it might be easier to move your storage media to the other enclosure instead.
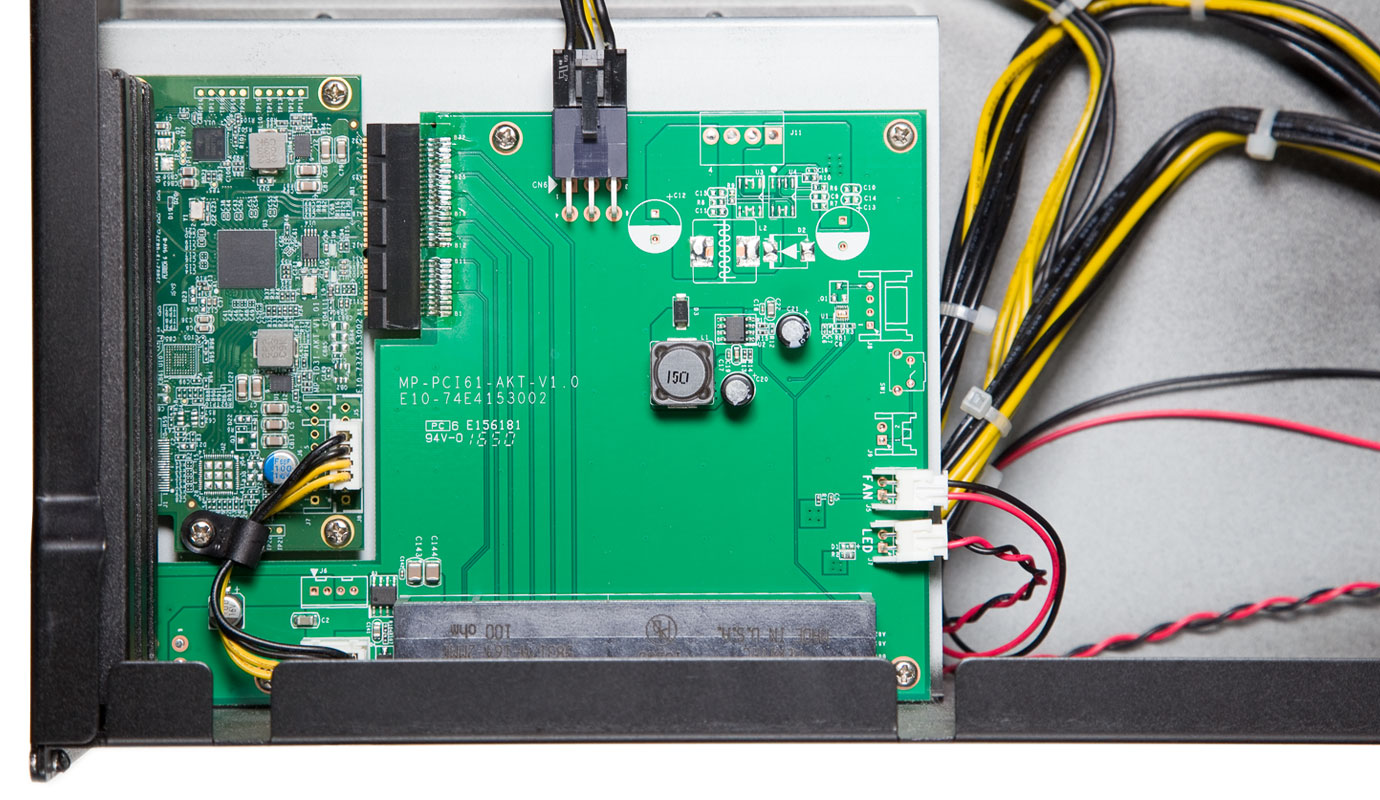
If there is no obvious damage, but your device stopped working correctly and the problem is not related to the storage media, the cable or the power supply, you could check the connections inside the enclosure and reseat the internal cables. Remove the power supply and the interface cable. Place the device on a clean, static-free surface and use proper anti-static precautions, then open the enclosure. Depending on the model, you might find one or more circuit boards inside your enclosure. If there are multiple boards and they are connected by cables, disconnect and reconnect those cables, making sure the wires are fully inserted. If the boards are connected with something like a PCIe connector, disconnect them, clean the golden fingers with isopropyl alcohol and reconnect them. If you currently cannot get any isopropyl alcohol, use a soft eraser and a soft lint-free cloth to remove any residue from the eraser afterwards.
IMPORTANT
Work in a clean, static-free area, and avoid wearing clothing that retains static charges. Use proper anti-static precautions when touching the internal circuit boards. Failure to do so can cause damage to your circuit boards. Before opening the enclosure, disconnect the power supply and the interface cables. Be extra careful not to damage any of the components on the circuit boards.
Storage Media

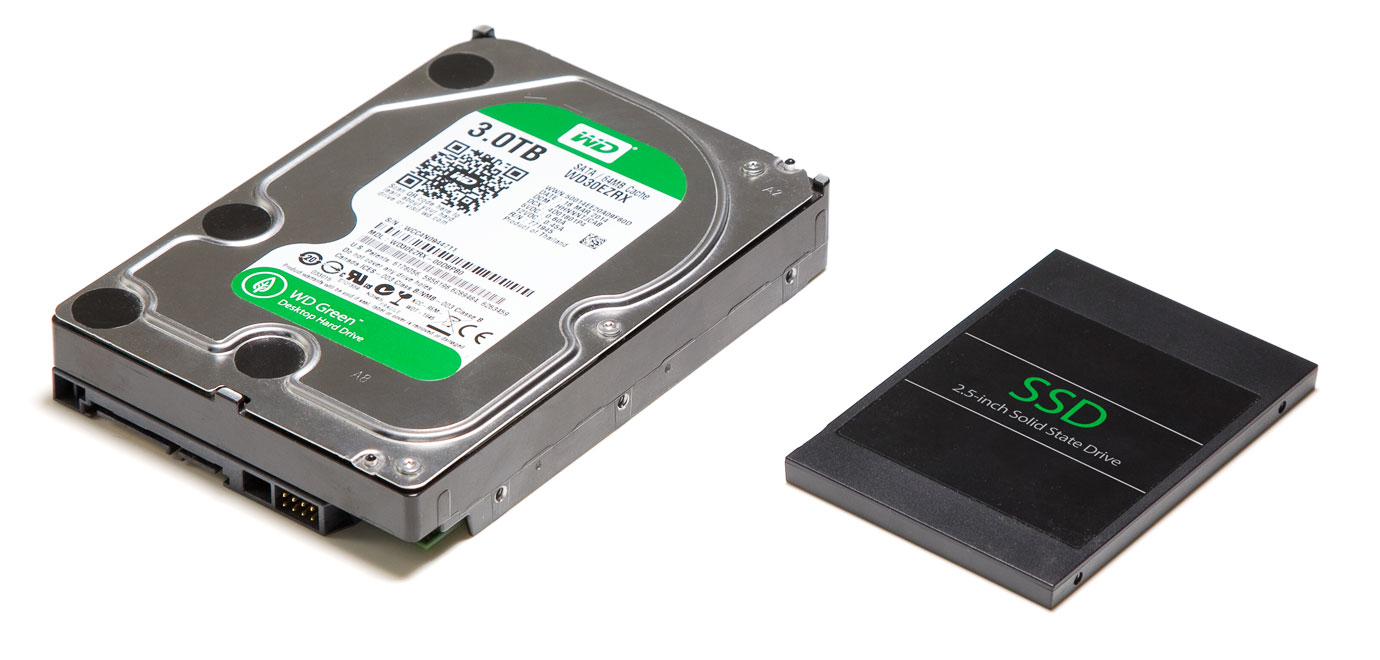
If the storage media and your data are still intact but you are unable to fix the enclosure, in many cases, you can remove the drives and install them in another enclosure or in a computer to access your data.
If you are using an enclosure with a RAID controller and have set it to SPAN, RAID 0 or higher RAID levels like RAID 5, the data will only be accessible in another enclosure if it uses the same RAID controller and firmware revision. If you have set it to RAID 1 or JBOD (Non-RAID), you should be able to access the data even when the drives are installed in a different enclosure without a RAID controller, an enclosure with a RAID controller set to JBOD (Non-RAID) or inside a computer.
Under normal circumstances, we always recommend making a backup of all the data to a different location first – before moving the drives to a different enclosure. There is a risk, especially with RAID sets, that you might not be able to access the data in another enclosure. And in the worst-case scenario, all your data could be lost. For this reason, please move your drives only if really needed or if they are not part of a RAID set. When using Software RAID, the RAID set is managed by the Operating System, so moving the drives to a different enclosure is not a problem. For example, a set of drives managed by SoftRAID will be recognized even when suddenly installed in a different enclosure.
IMPORTANT
When moving your disks to another enclosure with a hardware RAID controller, depending on the setup, you might not be able to access your existing data and your data could be erased completely.


